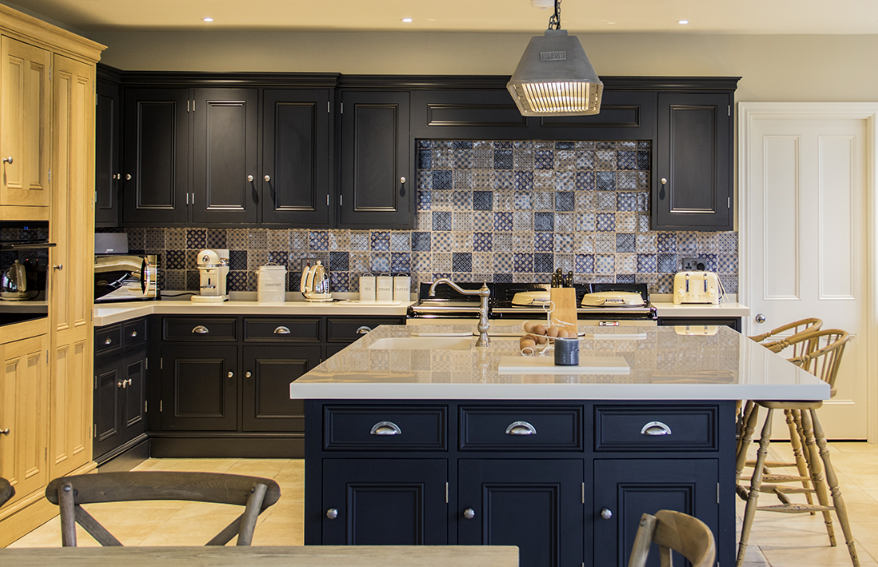
A Step-by-Step Guide to Installing Kitchen Handles, Cabinet Pulls, and Knobs
A Step-by-Step Guide to Installing Kitchen Handles, Cabinet Pulls, and Knobs
Upgrading your kitchen handles, cabinet pulls, and knobs is an easy and cost-effective way to refresh your kitchen's look. Whether you’re replacing old hardware or installing new ones, the process can be done in just a few simple steps. This project is ideal for both seasoned DIYers and beginners looking to enhance their kitchen without hiring a professional. In this guide, we’ll walk you through how to install these fixtures like a pro, offering detailed instructions and helpful tips to ensure a flawless result.
Tools and Materials You’ll Need
Before you get started, gather the following tools:
- Drill and drill bits
- Measuring tape or ruler
- Pencil
- Screwdriver (flat-head or Phillips, depending on screws)
- Hardware jig (optional, for precise alignment)
- Masking tape (optional, to prevent splinters)
- Level (for ensuring straight alignment)
- Microfiber cloth (for cleaning the hardware post-installation)
Step 1: Plan and Prepare
Proper planning is key to a successful installation. Follow these preparatory steps to avoid common mistakes:
-
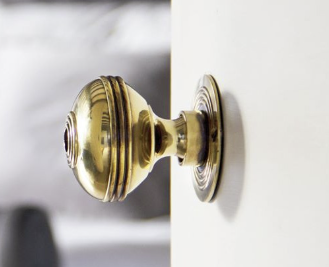
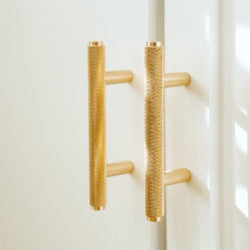
Choose Your Hardware Style: Decide whether you want knobs, pulls, or a mix of both. Knobs are generally used for cabinet doors, while pulls are preferred for drawers. Ensure the style and finish of the hardware complement your kitchen decor. For example, sleek chrome pulls work well in modern kitchens, while vintage-style knobs suit traditional or farmhouse designs.
-
Measure and Mark: Use a measuring tape to determine the placement of each handle, pull, or knob. A general rule is:
- For cabinet doors: Position the hardware about 2-3 inches from the bottom corner of upper cabinets or the top corner of lower cabinets.
- For drawers: Center the pull or knob both horizontally and vertically.
Accurate measurements ensure uniformity across all cabinets and drawers, creating a cohesive look.
-
Use a Hardware Jig: For consistent results, especially in kitchens with many cabinets, use a hardware jig to guide your drilling. This tool is particularly helpful for maintaining precision and symmetry, even if you’re installing hardware on cabinets of different sizes.
-
Plan Your Layout: If your kitchen has cabinets of varying dimensions, consider laying out all hardware on a table or workbench first. This allows you to visualize the placement and ensure all pieces match the desired aesthetic.
Step 2: Mark the Drill Holes
Marking drill holes accurately is crucial to achieving a polished finish:
- Place the hardware on the cabinet or drawer face where you’d like it installed. Hold it in place with one hand while marking with a pencil.
- Use a ruler or level to double-check alignment, especially if you’re installing multiple pulls or knobs in a row.
- Double-check your measurements to ensure alignment before drilling. It’s better to take a few extra minutes now than to deal with misaligned hardware later.
Step 3: Drill the Pilot Holes
Drilling pilot holes is a simple yet critical step that ensures a smooth installation process:
- Select the right drill bit size for your screws. The drill bit should be slightly smaller than the screw’s diameter.
- If you’re worried about splintering or cracking, apply masking tape over the area before drilling. The tape helps hold wood fibers in place and creates a cleaner hole.
- Drill straight and steady to avoid enlarging the hole. Be careful not to drill too deep; a depth slightly longer than the screw length is sufficient.
Step 4: Attach the Hardware
This is where the transformation begins! Follow these steps to attach your hardware securely:
- Align the hardware with the drilled holes. Use one hand to hold the hardware steady while inserting screws with the other.
- Insert the screws from the back of the cabinet or drawer front. For thicker cabinet doors, ensure the screws are long enough to provide a secure hold.
- Tighten the screws using a screwdriver or drill, ensuring the hardware is firmly attached but not over-tightened. Over-tightening can strip the screws or damage the cabinet surface.
Step 5: Check for Alignment
Once all hardware is installed, step back and assess the overall appearance:
- Ensure all knobs and pulls are aligned correctly.
- Confirm that screws are securely fastened and that the hardware feels sturdy.
- Test each handle, pull, or knob to ensure they operate smoothly without obstruction.
If you spot any misalignments, adjust the hardware before moving on to the next step.
Bonus Tips for a Professional Finish
- Test Placement First: Use double-sided tape or a small amount of removable adhesive to temporarily attach the hardware before drilling. This allows you to test different placements and make adjustments as needed.
- Replace Old Hardware with Precision: If you’re swapping out old handles or knobs, use the existing holes for convenience. You can also use backplates to cover old holes if the new hardware requires a different configuration.
- Match Screw Length: Make sure the screws provided are the right length for your cabinet thickness. If they’re too long or short, purchase replacements to ensure a snug fit.
- Polish Your Hardware: Once installed, clean the handles, pulls, or knobs with a microfiber cloth to remove fingerprints, smudges, or any leftover debris from installation.
Common Mistakes to Avoid
- Skipping Measurements: Always measure twice to avoid drilling holes in the wrong spot. Misaligned hardware can be a major eyesore and may require costly repairs.
- Using the Wrong Drill Bit: A drill bit that’s too large or too small can result in poorly fitted screws, which may loosen over time.
- Over-Tightening Screws: This can damage both the hardware and the cabinet surface, potentially leading to cracks or stripped screws.
- Ignoring Aesthetics: While functionality is essential, don’t overlook the visual impact of your hardware. Ensure your chosen style and finish complement the rest of your kitchen design.
By following these steps, you’ll achieve a polished and professional look for your kitchen. Installing kitchen handles, cabinet pulls, and knobs not only enhances functionality but also adds a touch of personality to your space. Whether you prefer classic brass knobs or sleek stainless-steel pulls, this simple upgrade can make a big impact. Happy renovating!
